
Honey Fermented Garlic
Honey and garlic. Both are known for their antimicrobial properties, and both add distinct, well loved flavors in cooking.
As a remedy, honey fermented garlic is great to have on hand for the first signs of being under the weather. The fermentation process softens the garlic flavor, making it a fun way to ward off colds and flu. And who doesn’t like a spoonful of honey to soothe a sore throat.
The honey is also a delicious marinade for anything from cheese and meats to sourdough toast or pizza, and can be used as a drizzle over vegetables or in salad dressing and uncooked sauce recipes. The garlic softens and can be spread on toast or used as a salad topper or served over meats.
Honey is not recommended for children under 12 months.
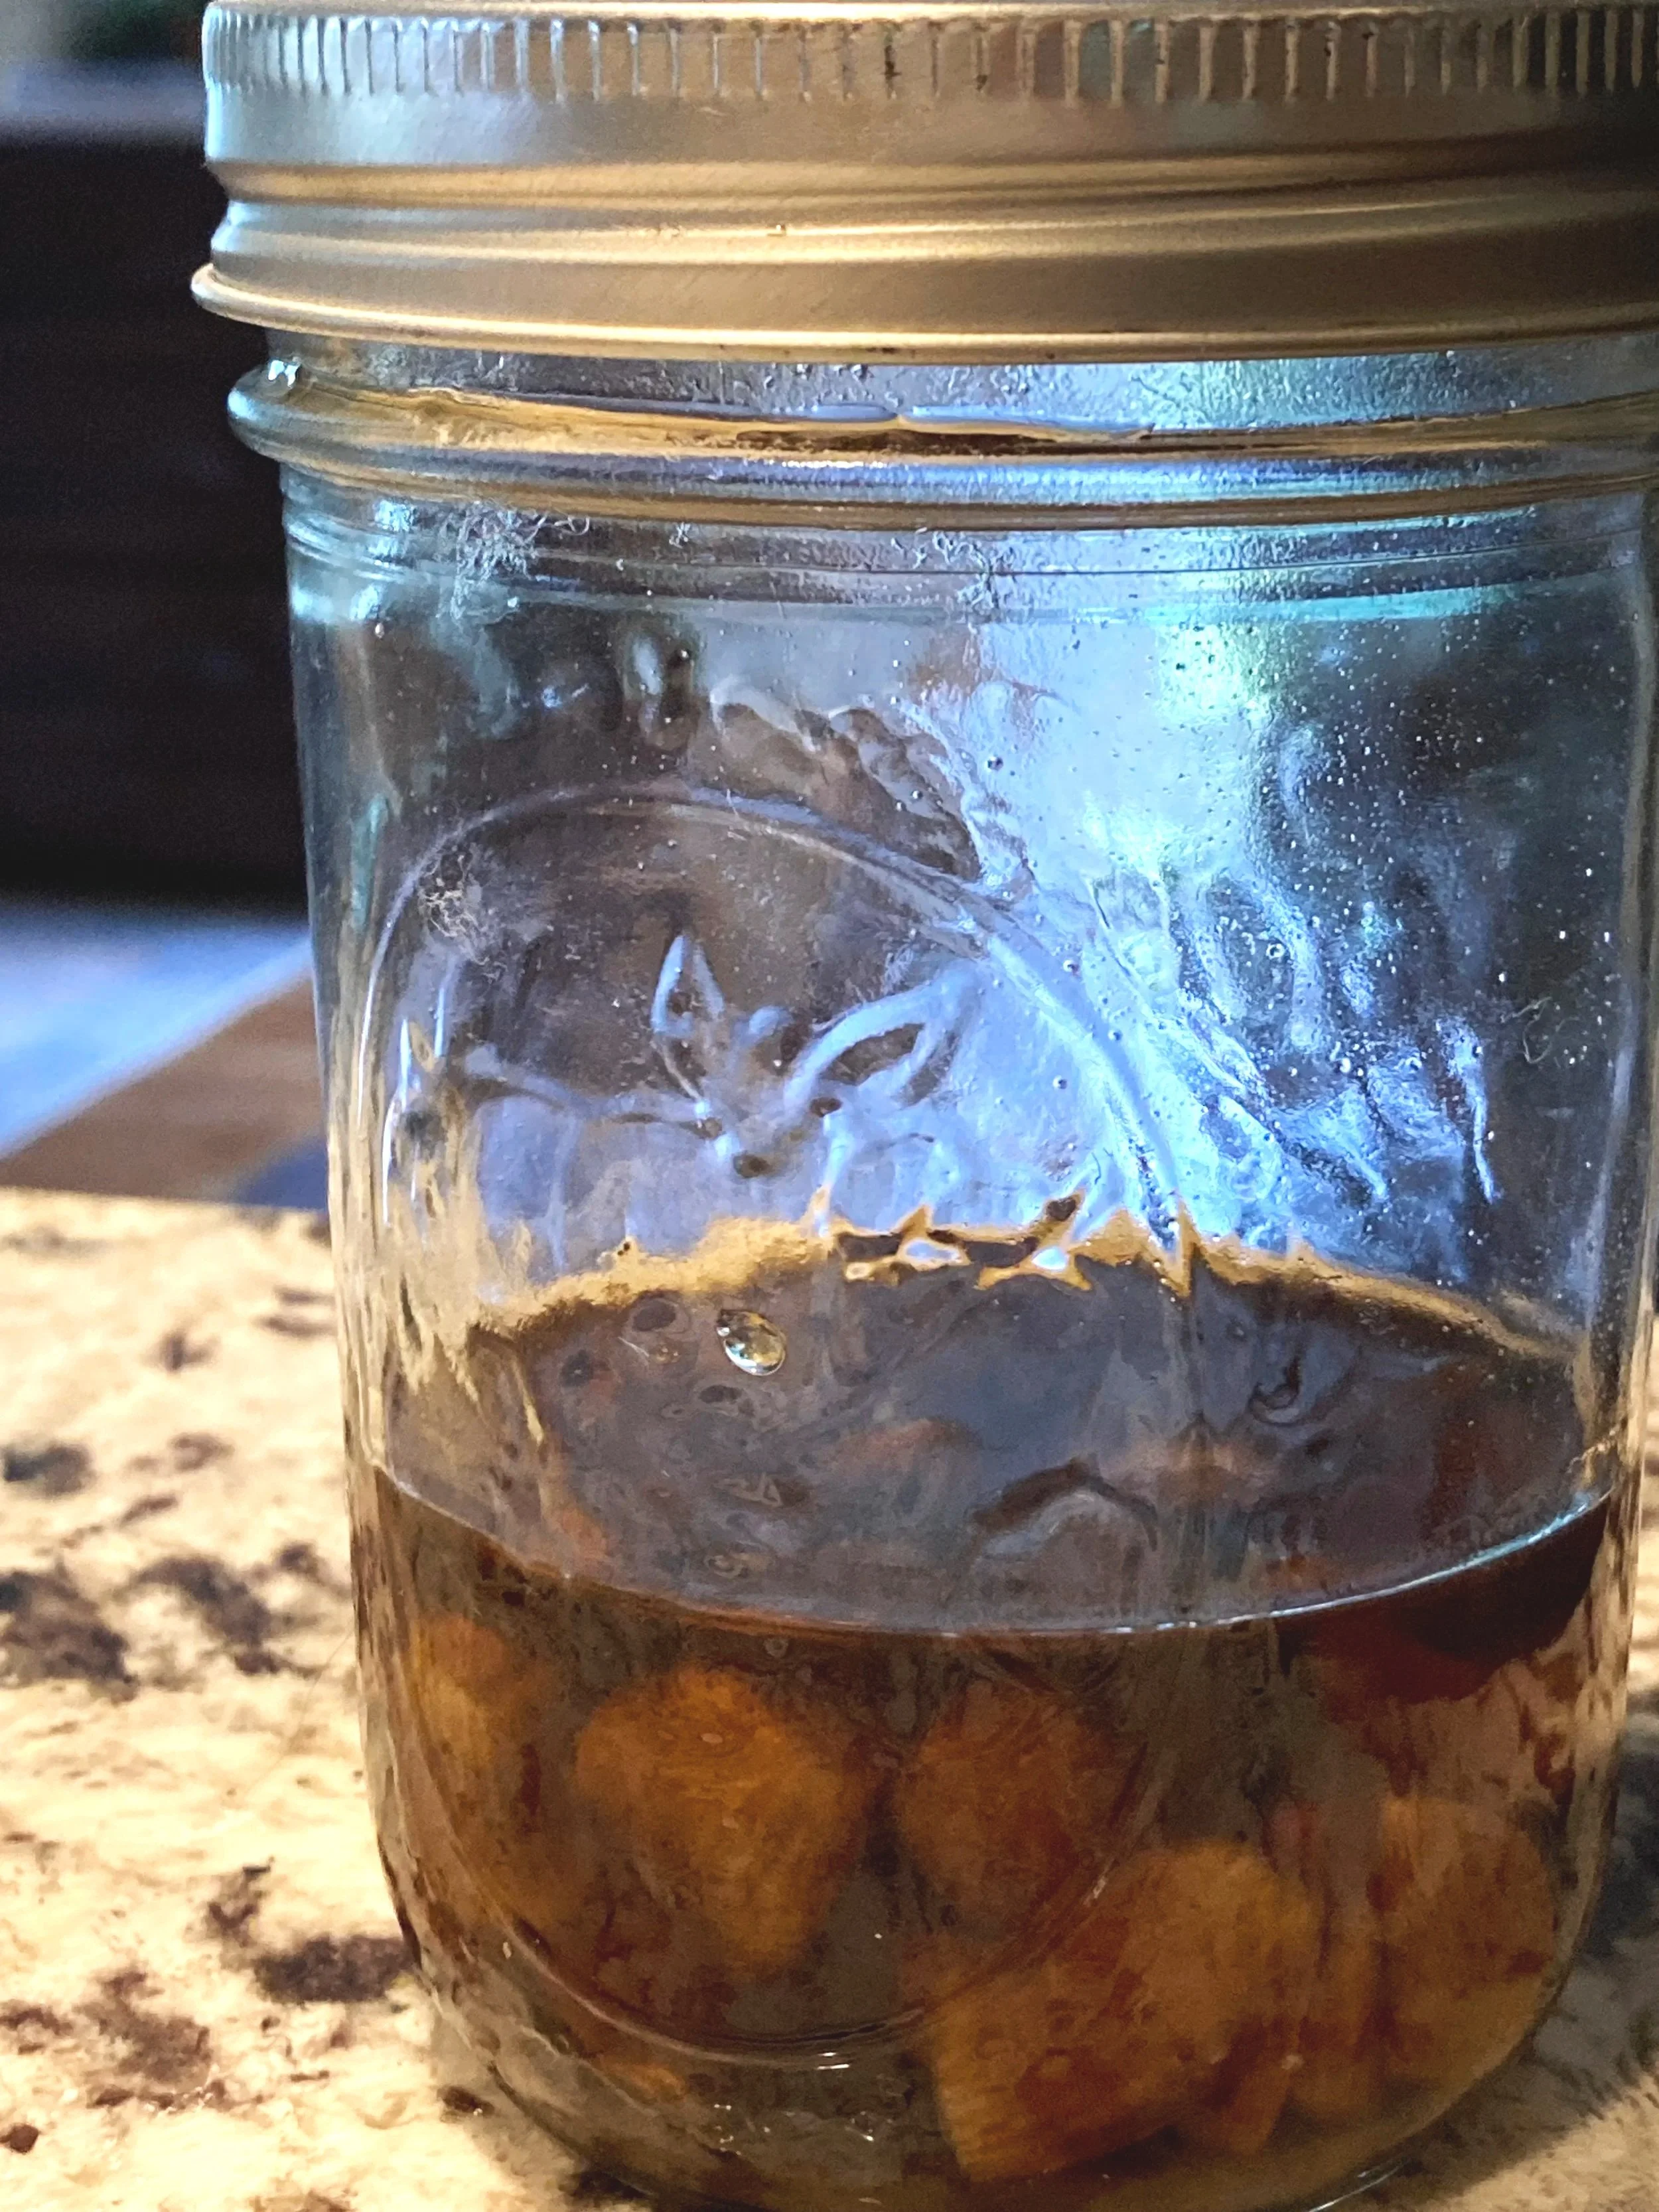
Time to make more honey garlic ferment
Ingredients
Raw (unpasteurized) pure honey, approximately 8-12 ounces (1-1.5 cups)
Around a cup of organic garlic cloves, peeled and cut in half if very large (approximately 2-3 garlic heads).
1 pint jar
Put your prepared cloves in your jar. This example uses a pint, but you can re-use any glass jar that’s well washed, like a jelly or pasta jar. I save wide-mouth jars, which are easier to work with. The jar should be about half full of cloves.
Pour the honey - must be unpasteurized for this to work - over the garlic bulbs, letting it settle and then pouring in more so that all of the garlic is completely covered. Leave a headspace of at least an inch at the top. Ferments expand!
Put the lid on tightly and invert the jar to be sure all garlic is completely submerged. You can use a wooden chopstick to mix it and help coat the garlic if needed.
Loosen the lid, and put the jar on a plate on your counter, out of direct sunlight. Put a sticky note near it with the date that you made the ferment.
At least once every day, tighten the lid, and gently shake and invert to cover the garlic in honey (it sometimes floats to the top). Turn right side up, then loosen the lid to release fermentation gasses. It will smell garlicky! Depending on the room temperature, you should start seeing bubbles within a few days to a week. Don’t forget to release the gas daily, and keep it on a plate in case a bit of honey escapes the jar.
After 2 weeks to a month, it’s ready to use, although I think waiting a few months makes it even better. The honey will become darker and runnier, and the garlic will turn an amber brown.
Keep several ferments going at once so you don’t run out. I have forgotten about my honey garlic ferments and found them months or even over a year later and they are still fine. The garlic may turn very dark, but can still be used. May be stored in the pantry.